Table of Contents
Building a suitable environment to work on your music is essential in a producer or sound engineer's career. Unfortunately, all these items we need to make our work professional can come at a high cost. I never had these large budgets, and that's why I decided to build my studio with DIY. Today I will share my experience with you and teach you how to make your sound-absorbing panels a vocal shield for your studio.


Room Modes
Let's start from the beginning. First, you need to find the main problems of your work environment. The biggest problems will come from the "modes" of your room. Those will generate the resonant frequencies of your room.

Finding the resonant modes of your room is very simple; in addition to simple formulas, some sites allow you to enter the dimensions of your room and check which are the problematic frequencies.
Ideally, your studio should have a rectangular shape, non-parallel walls, and a size ratio that falls within Bolt's area (Amroc will automatically tell you if your proportions are suitable). 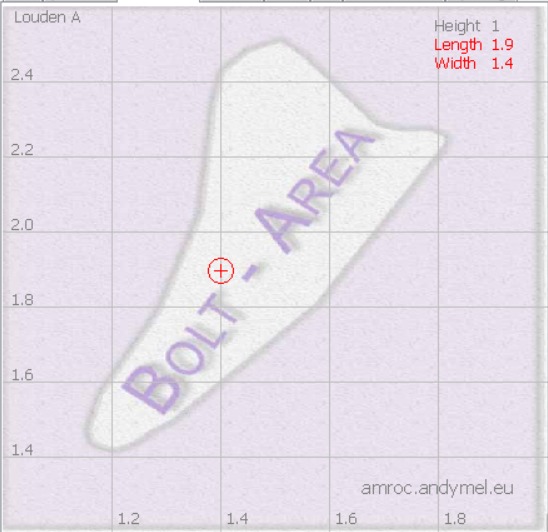
The worst case that can happen to you is to have a small and cubic room; in this way, the waves will have little space to decay, and also, the room modes will be concentrated around the same frequency and its harmonics, making it very difficult to be able to control them.
DIY Absorbing Panel
The first way you have to fight the forms of your room is to build sound-absorbing panels. The first consideration we have to make concerns their effectiveness on low frequencies. These will hardly go below 200Hz; the only way we have to improve their effectiveness is to distance them from the walls to leave an air gap between the panel and the wall.

A sound-absorbing board acts on the waveform's speed, and at ¼ of the wavelength of the frequency, we have the peak of its speed component. Working on this allows us to expand the capacity of our absorbers at the bottom. This gap cannot reach excessive dimensions. 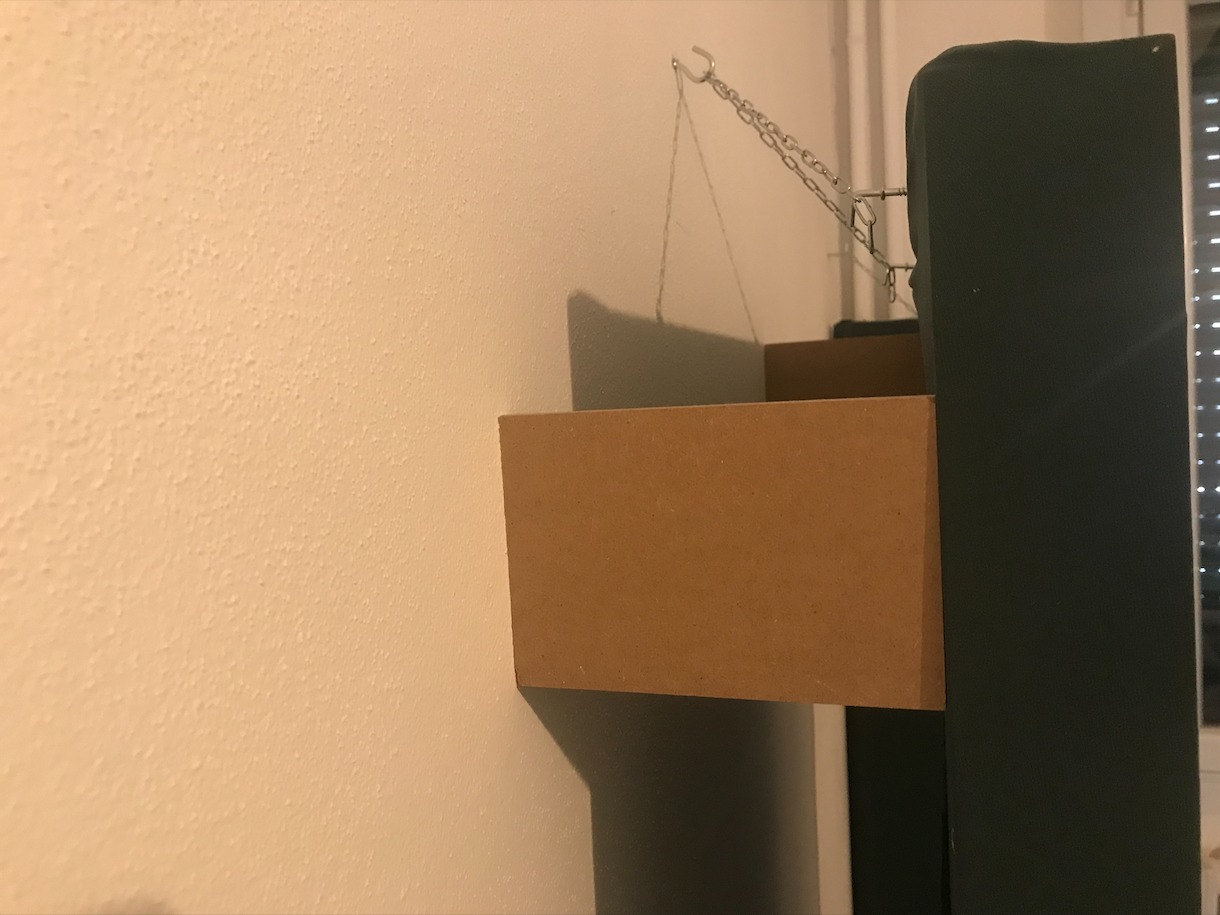
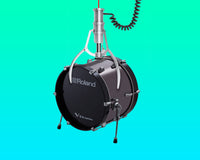
To absorb below 100Hz, you will need to take cylindrical bass traps or resonators. These are quite complicated to build, so I recommend buying them.
Let's go back to our panels, so we understood that we could act on frequencies from about 200Hz upwards, and to do this, we will need:
Sound-absorbing material
for my panels, I have chosen this type of panel of polyester fiber. I put 2 for each panel. Remember that for the same mass, it is better to have more thickness than density! As we can see from the data provided, it has an excellent absorption coefficient (0 is the minimum, 1 is the maximum). It is also a material that is easy to work with and harmless to humans (some fiber panels of glass, if not treated properly, can be very harmful to the respiratory system!)
Wood for the frame
for the wood is okay; try to find the cheapest alternative. I chose this type
Fabric
The choice of material is more important than it seems. We need to find a very breathable and light fabric that allows the sound to pass without being reflected to maximize our panels' effectiveness. The ideal and cheapest materials are burlap and grill cloth. I bought mine from a local fabric vendor for € 7 a meter.
Fasteners and hooks
To attach the fabric to the frame and the panel, I recommend using pins to be inserted very quickly, even using your fingers. To hang the panels, I recommend placing a dowel in the wall in the form of a hook, two dowels in the panel, and connecting everything with a chain. For the ceiling, I put four anchors on the ceiling and four on the panel, attaching everything with chains.

For four panels 120x60x7, I, therefore, spent a total of around € 160. In short, a nice saving. 
Getting things together
Now that we have our panels, we need to think about how to place them. The most dangerous places to cover are undoubtedly the corners near your monitors and all the areas adjacent to them. Let's remember that the sound propagates spherically, so blocking the first reflections we have around the speakers is essential. To understand where to put them, I recommend using a mirror and scrolling along the affected wall until we see the panel; that will be the point of the first reflection.
DIY Vocal Shield
Building a DIY shield to record your vocals can be very easy. Let's consider first of all that the human voice does not have excellent frequency content in the sub and bass area. When we record, this type of content derives from the proximity effect. To properly absorb the voice frequencies, we will need a less thick and dense panel than the one we used before. Consider that the higher in frequency the content, the more directional these frequencies will be, so covering only the front and sides of our head will suffice.
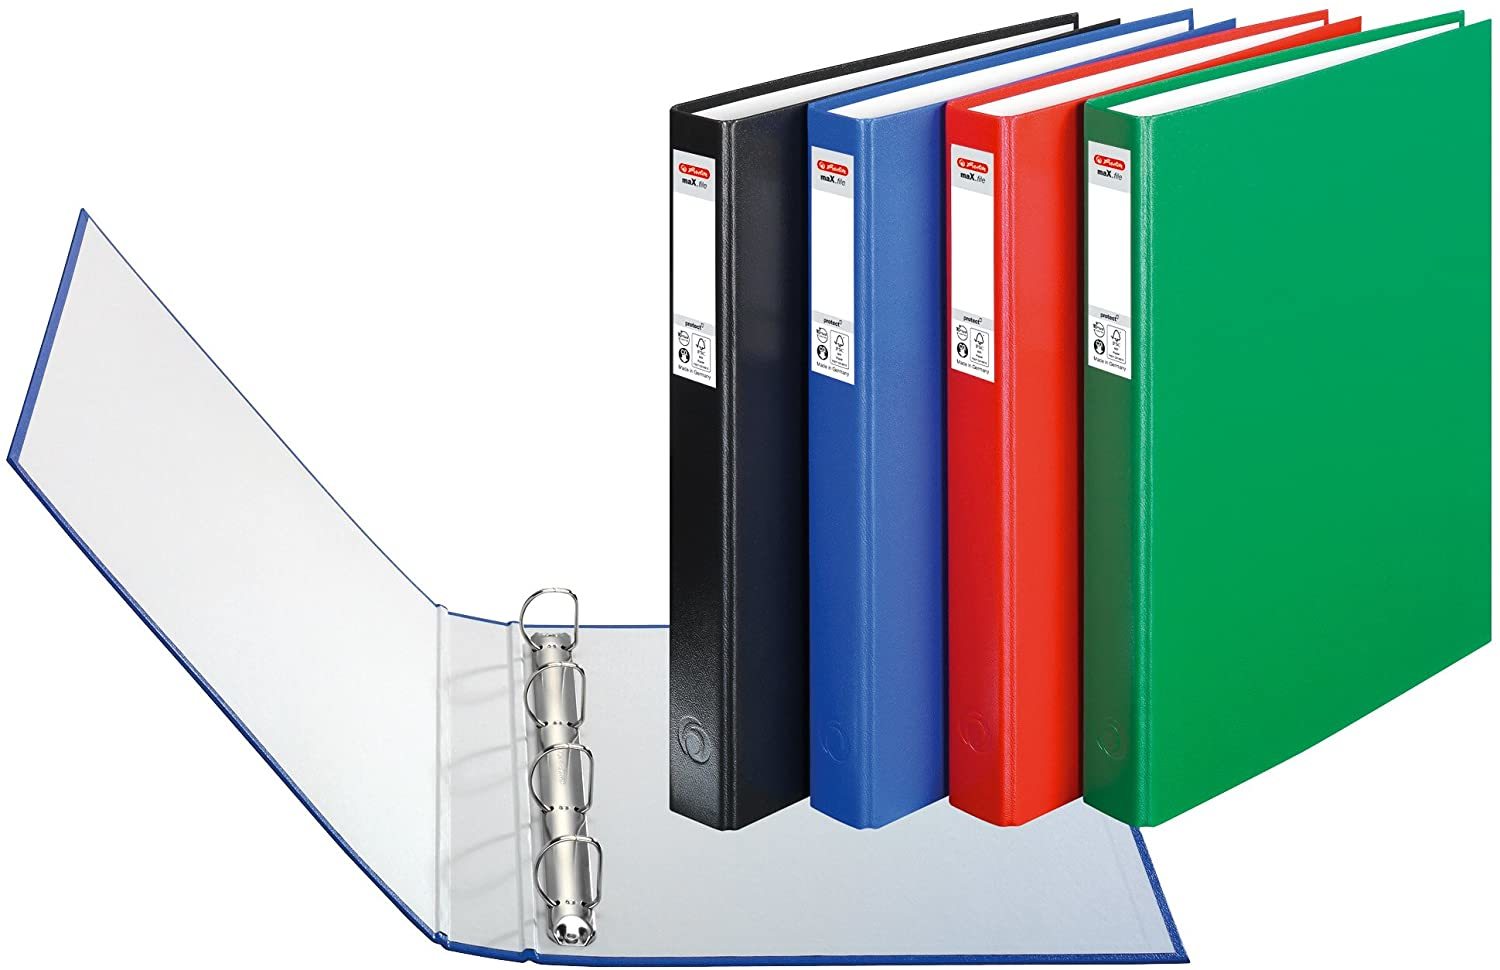
You need to find a curved plate of any type and a small sound-absorbing sponge panel and finally find a way to attach it to a rod. I found various original solutions for the plate. For example, you can use a ring binder or a folded piece of Foam Core Board.

Here's a video where the process is explained well:
Remember that you can always get a good result even using your wardrobe as a vocal booth so that the clothes absorb the frequencies that would otherwise be dispersed in the room. Another way is to cover up with a heavy blanket, as we saw Travis Scott do to record NO BYSTANDERS.

Conclusion
Treating the environment we use is essential; even with just these small tricks, you will notice a big difference.
Remember that getting costly monitors will do no good if they are then placed in an untreated environment. There are other little tricks you can try to improve your acoustics, such as placing objects on the walls to disrupt parallel reflections or placing a carpet or wooden floor to increase the floor's absorption coefficient. Our ears are not very sensitive to vertical reflections; however, it's better than nothing.
Always try to have a good pair of headphones to have an extra reference, especially for low-frequency monitoring.
This article has been brought to you by Edoardo Del Torre.