Table of Contents
- Close other software
- Use stock effects
- Use VST3
- Use sends
- Top-down approach
- Disable unused features
- Close plugins GUI
- Raise the Buffer Size
- Bounce to Audio
- Spot CPU-intensive plugins
Have you ever experienced glitches and dropouts while producing, mixing or mastering?
That’s because you’re stressing your computer too much. This phenomenon usually happens when we’re in the middle of a project or close to its end, and that makes the following minutes or hours frustrating.
While at first you might be tempted to blame your computer for not being powerful enough, you should consider the fact that you might be asking it too much for too little results.
Before you get caught in a moment of rage, throw your computer out of the window, and find yourself paying for a new computer and someone unfortunate else’s healthcare, here are 10 practices you should keep in mind most of the time, or at least when you’re encountering such problem.
You probably won’t solve your problems by applying only a single tip from this list, but each one affects the CPU of your system by some percentage, and together they can make a significant difference.

Close other software
This might sound dumb at first, but it just happens that we open our browser for some research, the notes app for some reminders, Photoshop for our latest social media asset, and then leave them there open.
When your DAW starts glitching, immediately check if it’s the only software open (or at least try closing anything else that isn’t needed for background work).
I generally make an exception for SoundID Reference because it’s crucial for my listening.

Use stock effects
They’re insanely good. They may not have been great in the past, but most DAWs evolved in a way that they come with almost everything you need out of the box.
I can speak for Ableton, and I find myself using effects like Compressor, Glue Compressor, EQ Three, EQ Eight, Saturator, Amp, Utility, Overdrive, Audio Effect Rack, and Spectrum, just to name a few, in every single project.

Use VST3
This plugin extension is engineered to optimize the workload on your CPU in a no-nonsense way. In fact, VST3 doesn’t hit your CPU if any audio isn’t running through it.
You might think “it’s obvious”, but that’s not how it used to be prior to it.
With VST3 now you only have to worry about not having too much stuff hitting your CPU all at once.

Use sends
If you want to replicate the same effect (especially time-based ones) on multiple tracks, there’s no need to load an instance of it on each channel. You can take advantage of Sends to redirect the audio to a Return track which will process all the channels together through a single instance.
The pros of this practice are multiple:
- you save CPU
- you can control the same effect from a single GUI
- you can dial the amount of that effect on every single channel by using the send fader.

Top-down approach
If you’re a bottom-up head, you might not want to hear this, but top-down approach is undoubtedly better at saving the CPU.
That’s because you’re working from macro to micro, and global processing will play a huge part in making the mix sound how you want as a whole.
Since I’ve switched from bottom-up to top-down, I’ve found myself mixing faster, and using fewer plugins with the result of experiencing fewer audio dropouts.

Disable unused features
If you’re using plugins with multiple modules, then make sure to turn off any feature you aren’t using. For example, I love using Neural Q from Tone Empire, but I realized that the Pre-Amp section was significantly eating CPU for nothing (as I usually don’t crank it), and I found out that turning it off was enough to make it lighter on my system.
Close plugins GUI
I realized with time that GUIs can eat a significant amount of calculation power from your system, especially the most visual-intensive ones like iZotope and Fabfilter plugins.
While they’re indeed among my most used and favorite plugins, their visual approach comes at the cost of hitting your CPU. As an Ableton user, I try to set them as quickly as possible and then fine-tune them with the Ableton-generated faders on the insert interface.
Also, closing the GUI allows me to not have sudden dropouts when opening the channel they’re loaded on.
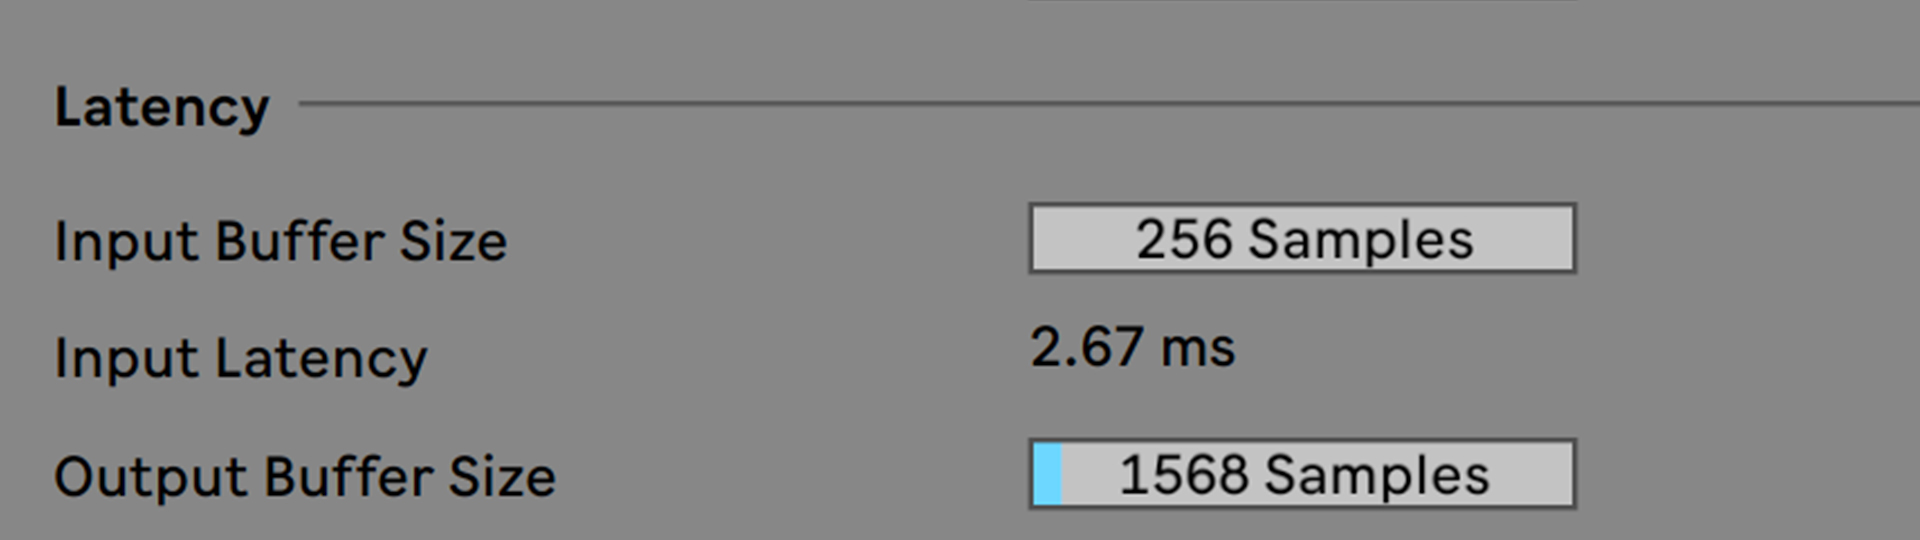
Raise the Buffer Size
If you aren’t working with some detailed audio editing, for example, volume automation on problematic vocals, then you shouldn’t worry about the latency that higher buffer sizes come with.
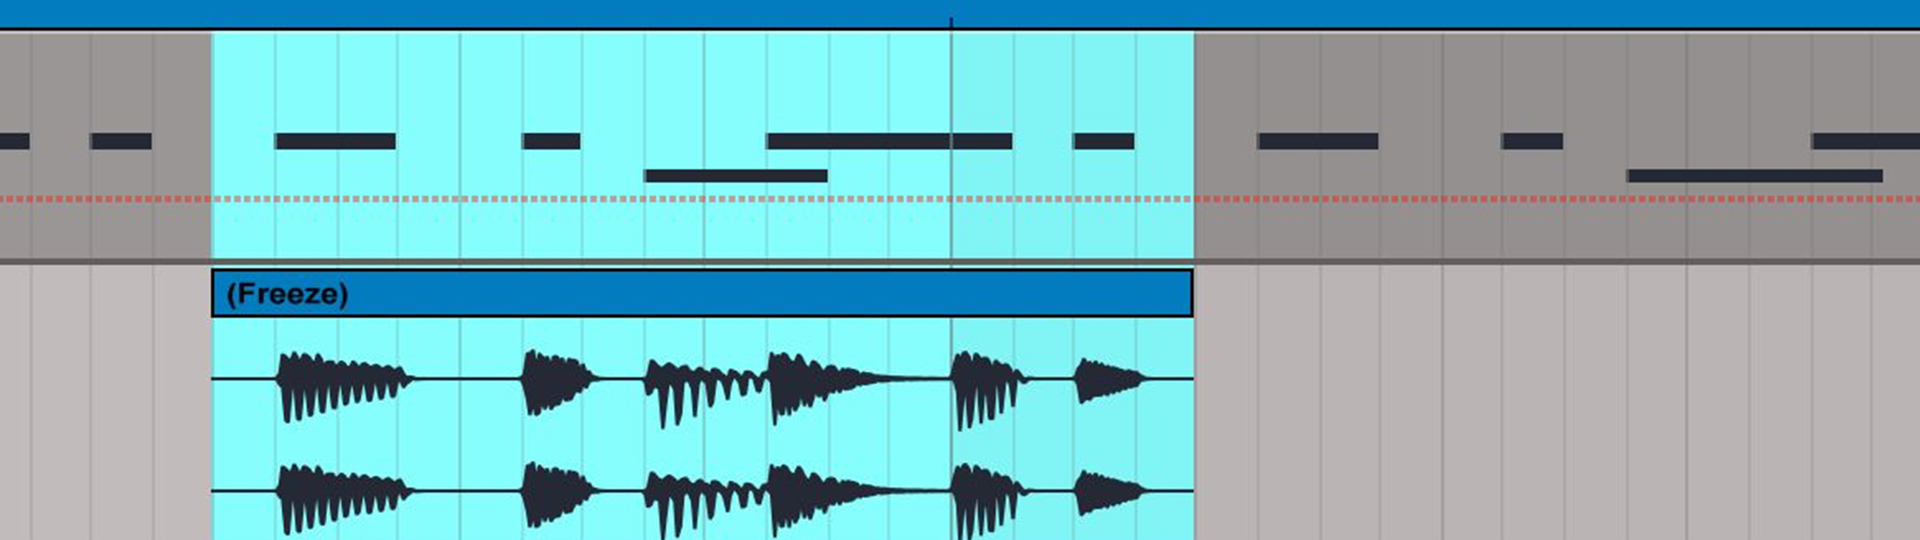
Bounce to Audio
If you’re a producer, this might be an important commitment for you, but you have to know when to say goodbye to all the previous editing capabilities on one source.
If you’re wearing the mixing engineer hat on your own tracks, then you should learn when to stop producing and start mixing by bouncing all your stems to audio.
I’m usually afraid of this step as well, and that’s why I save projects progressively by making new copies every time I make significant changes so I can always recall previous versions.

Spot CPU-intensive plugins
Here we come to the point where you have to kill some of your beloved tools. Chances are that most of them will be replaceable with equal or even better plugins.
I found myself experimenting with several plugins that were doing too little for the CPU they asked for, and ended up emulating them with other plugins or stock effects.
If you have a busy session and don’t know what to look for, start by turning off groups and see if the glitches are still happening. Then, progressively look into smaller groups until you find the channel that’s giving you problems. Once you’re there, turn on and off the plugins inserted until you find the culprit.
Beat Spot Workflow
If you’ve found these tips helpful, then you’ll appreciate all the knowledge we’ve packed into Workflow, a bundle comprising a plethora of resources to become a more efficient producer!